Repotting Rare Houseplants: Timing and Techniques
Bringing a rare houseplant into your collection is exciting! However, these beauties often require specialized care, and repotting is a crucial part of that. Unlike common houseplants, rushing the process or using the wrong techniques can seriously stress a rare plant, potentially hindering its growth or even leading to decline. This guide will walk you through the timing and techniques for successful repotting of your precious rare houseplants.
Why Repotting Rare Houseplants Requires Extra Care
Rare houseplants are frequently collected from specific environments – often with very particular soil compositions and root structures. They might have delicate root systems, be particularly sensitive to changes in humidity, or have adapted to a slower growth cycle. Disturbing these adaptations without careful consideration can lead to shock. Signs of stress after repotting might include leaf drop, stunted growth, or a general decline in health. Understanding the specific needs of your rare plants is key – sometimes, propagation methods like air layering can even be a less disruptive alternative to full repotting.
When to Repot Your Rare Houseplant
Timing is everything. Here's what to look for:
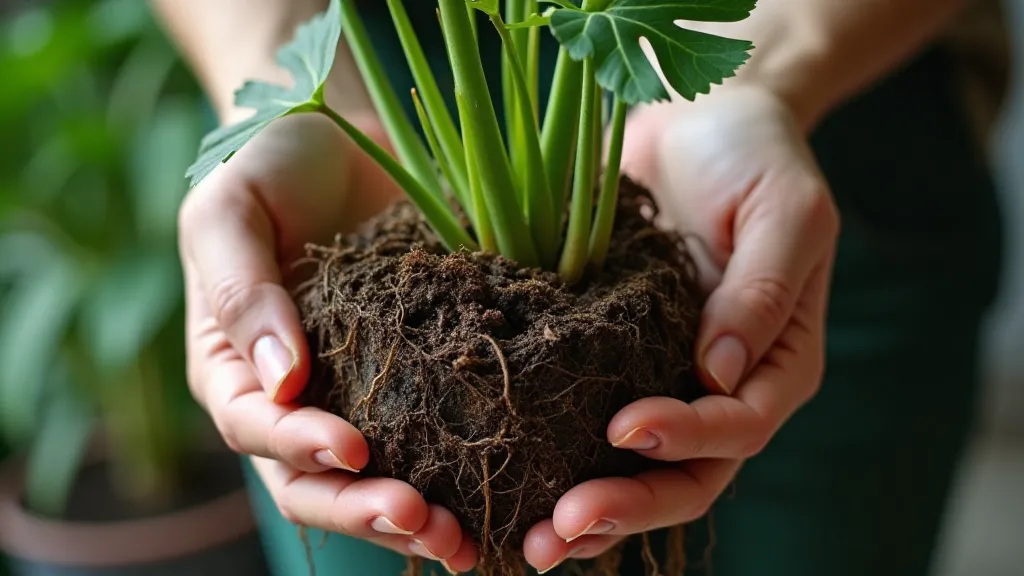
- Rootbound: This is the most common reason to repot. Gently ease the plant from its pot (if possible) and examine the roots. If they are densely circling the pot, it's time to repot.
- Soil Degradation: Even if the plant isn's rootbound, the soil can break down over time, losing its ability to retain moisture and nutrients. If the soil is compacted, drains poorly, or is consistently dry despite watering, consider repotting.
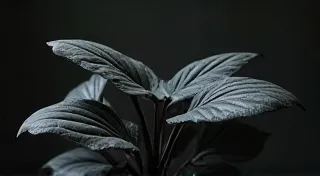
- Growth Stalling: If your plant has stopped growing or is growing very slowly, repotting with fresh soil can sometimes revitalize it. This can be especially true for varieties like the Philodendron Spiritus – if its vibrant color seems dull, a fresh repotting may do wonders. Often, a stagnant growth pattern can signal underlying issues that benefit from a soil refresh and a careful assessment of the plant's overall environment.
- Size Limitations: If the plant has significantly outgrown its pot, a larger container will be necessary. Consider the long-term growth potential and select a pot that provides adequate space for the root system to expand.
Frequency: Generally, rare houseplants only need repotting every 1-3 years. Observe your plant's growth and root system to determine the optimal timing. Don't repot just because a calendar says it's time. Consider factors like the plant’s growth rate and the type of potting mix used. A fast-growing species in a readily degradable mix might require more frequent repotting than a slow-growing species in a long-lasting substrate.
Choosing the Right Pot and Soil Mix
The pot and soil you choose are critical. Don't just grab any generic potting mix!
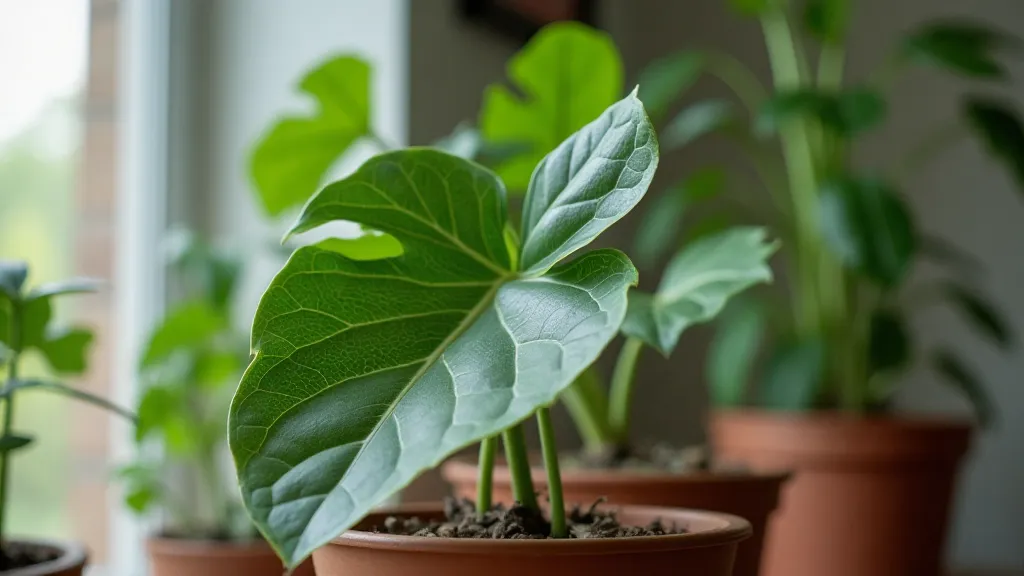
- Pot Material: Terracotta pots are a good option as they allow for better airflow and drainage, helping to prevent root rot – a major concern for many rare plants. However, they dry out faster. Plastic pots retain moisture longer, which can be beneficial for moisture-loving species. Often, issues like root rot can be traced back to improper soil or pot selection. The choice should be guided by the specific needs of the plant. For example, a Calathea, known for its moisture preference, might thrive in a plastic pot.
- Pot Size: Only increase the pot size by 1-2 inches in diameter. Over-potting (choosing a pot that's too large) can lead to root rot due to excess moisture. It’s a common mistake, but a little extra space is far better than too much.
- Soil Mix: This is arguably the most important factor. Research your specific rare plant’s native environment and try to mimic those conditions. Common components include:
- Orchid Bark: Provides excellent drainage and aeration.
- Coco Coir: Helps retain moisture.
- Perlite/Vermiculite: Improves drainage and aeration.
- Sphagnum Moss: Can be used for moisture retention (use sparingly and research plant specific needs). Consider experimenting with different ratios of these components to optimize for drainage versus moisture retention.
- Prepare the New Pot: Add a layer of your chosen soil mix to the bottom of the new pot. Consider using a landscape fabric liner to prevent soil from escaping through drainage holes.
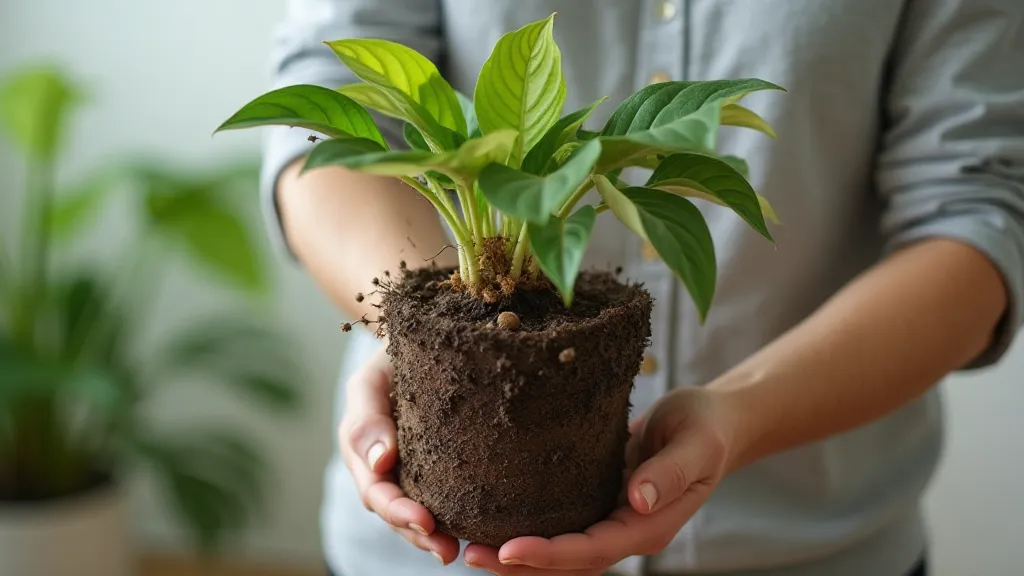
- Remove the Plant: Gently ease the plant from its old pot. If it’s stuck, try running a knife around the inside edge. Avoid pulling on the stems. A gentle, patient approach is always best.
- Inspect the Roots: Examine the roots for any signs of disease or pests. Gently prune away any dead or damaged roots. Pay close attention – a slight discoloration can be an early warning sign of underlying issues. If you suspect a pest infestation, treat the plant with an appropriate insecticide before repotting.
- Position the Plant: Place the plant in the new pot and add more soil mix around the roots. Ensure the top of the root ball is level with the soil surface. Gently press the soil around the roots to secure the plant.
- Water Carefully: Water thoroughly after repotting, allowing excess water to drain. Avoid overwatering, as this can exacerbate root rot.
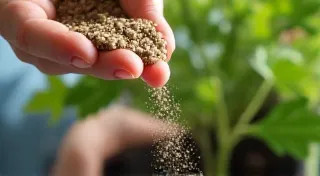
- Provide Supportive Care: Place the plant in a location with bright, indirect light and maintain consistent humidity levels. Avoid fertilizing for a few weeks to allow the plant to adjust. Consider using a humidity dome to create a more humid microclimate around the plant immediately after repotting.
Many rare plants thrive in a chunky, well-draining mix. Avoid mixes that are predominantly peat moss, as they can compact over time. Consider the specific needs of varieties like the Philodendron Spiritus, which appreciates a well-aerated substrate. Remember that the ideal soil composition isn’t one-size-fits-all. A Hoya, for example, generally prefers a grittier, faster-draining mix compared to a Begonia. Understanding the plant's natural habitat can provide valuable clues about its soil preferences.
Repotting Techniques to Minimize Stress
Gentle handling is key to avoiding shock. Follow these steps:
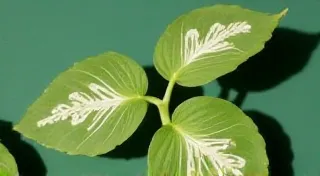
Keep a close eye on your plant after repotting. Look for any signs of stress, such as wilting, leaf drop, or discoloration. Adjust your care routine as needed. It may take several weeks or even months for your plant to fully recover from the repotting process. Remember that some varieties, especially those like the Pink Princess, might exhibit a slight delay in regaining their characteristic color after disturbance. It is also important to note that even with the best care, some plants may never fully recover from the stress of repotting. Careful observation and prompt action are crucial.
Humidity: Many rare houseplants appreciate higher humidity levels. Consider using a humidifier or placing the plant on a pebble tray to increase humidity. Understanding a plant’s humidity requirements goes beyond simple preference; it's often a reflection of its natural habitat.
Light: Avoid direct sunlight immediately after repotting, as this can stress the plant further. Gradually reintroduce the plant to its normal light conditions over a week or two.
Beyond the immediate repotting process, long-term care is vital. Understanding the nuances of your specific plant’s needs – light requirements, watering frequency, and preferred soil conditions – will contribute to its overall health and vitality. Proper care extends far beyond repotting, encompassing everything from pest control to fertilization. A helpful resource for understanding these specific requirements is often found in articles detailing individual plant care guides.
While repotting is often necessary, consider other propagation techniques to expand your collection without the stress on a single plant. Methods like air layering, for example, can create new plants from existing stems, offering a less disruptive alternative in some cases. Furthermore, understanding the stages of plant growth can inform your decision-making process, allowing you to anticipate needs and proactively address potential problems.
Ultimately, successful rare plant care is a journey of observation, adaptation, and continuous learning. Each plant is unique, and the best approach is often one of thoughtful experimentation and respectful interaction with its natural rhythms. By understanding its needs and responding accordingly, you can nurture a thriving collection of these botanical treasures. Remember, cultivating a successful collection is a testament to patience, perseverance, and a deep appreciation for the intricacies of the plant kingdom. The rewards, however, are well worth the effort, as these captivating specimens can bring beauty, tranquility, and a connection to nature into any space.